

In high-stakes industries like medical device manufacturing, electronics assembly, and automotive production, efficiency isn’t just about speed—it’s about precision, reliability, and reducing costly errors. One often-overlooked component that can dramatically impact all three? The marker band.
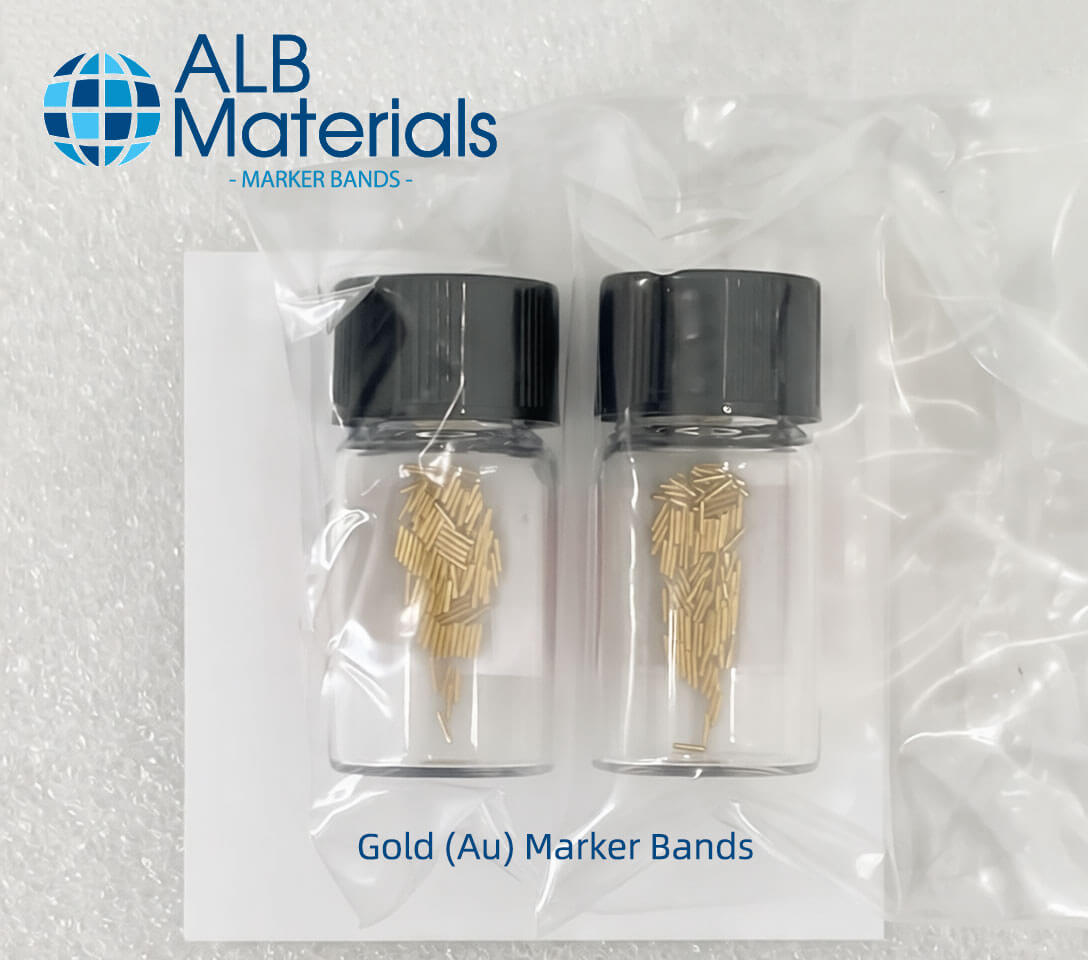
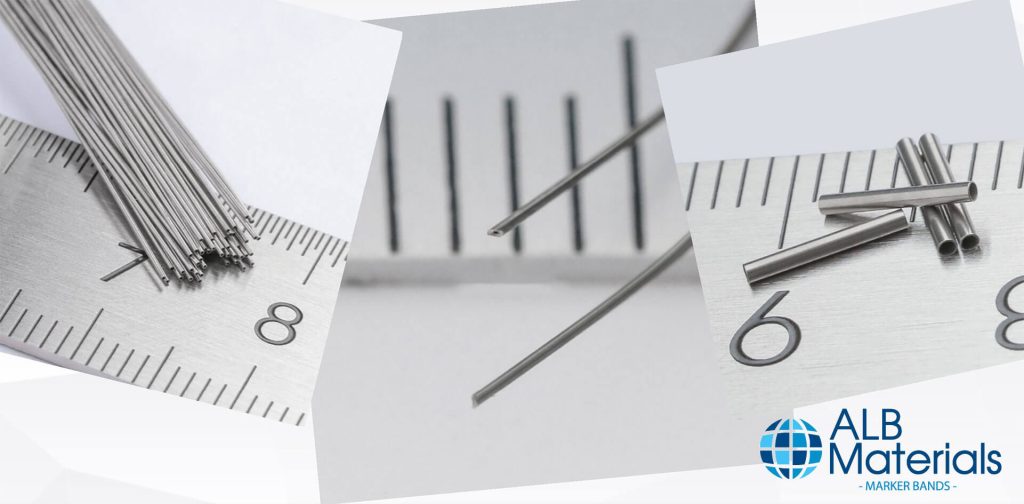
These tiny rings, tags, or strips—sometimes smaller than a grain of rice—serve as critical reference points for imaging, alignment, tracking, and quality control. But simply installing a marker band isn’t enough. Using it effectively is what unlocks real operational efficiency.
Based on best practices from engineering teams and lessons from real-world failures, here are practical, actionable tips to get the most out of your marker bands—without overspending or overcomplicating your process.
1. Match the Marker to Your Detection System (Not the Other Way Around)
The biggest mistake teams make? Choosing a marker band based on cost or availability—then trying to force it into an incompatible detection system.
Instead, start with how you need to “see” the marker:
- X-ray or fluoroscopy? → Use radiopaque metals like platinum or tantalum.
- Automated optical inspection (AOI)? → Choose high-contrast fiducial markers with clean edges (e.g., laser-etched copper).
- RFID reader in a metal-rich environment? → Specify “on-metal” RFID tags with ferrite shielding.
- Manual visual check? → Use color-coded silicone bands (e.g., red for high-risk lines in hospitals).
✅ Pro Tip: Test your marker under real operating conditions before full-scale rollout. A band that looks perfect in the lab might vanish under factory lighting or get lost in X-ray scatter.
2. Don’t Over-Engineer—Right-Size for the Application
It’s tempting to default to platinum because it’s “the best.” But if your device is used for a 10-minute diagnostic procedure, gold or even tungsten may deliver 95% of the performance at half the cost.
Ask yourself:
- Does this need to stay in the body for years? → Biocompatibility and long-term stability matter.
- Is this a one-time-use component? → Prioritize cost and ease of integration.
- Will it face extreme heat or chemicals? → Verify material resistance (e.g., polyimide for 200°C+ environments).
💡 Efficiency win: A medical device OEM switched from platinum to iridium alloy marker bands on short-term catheters—saving $180K/year with zero impact on imaging clarity.
3. Standardize Where Possible (But Customize When Needed)
Standardization reduces training time, simplifies inventory, and minimizes human error. If your facility uses multiple catheter lines, use the same color-coding system across all products (e.g., purple = feeding tubes, red = airway devices).
However, don’t standardize blindly. A marker that works for a neurovascular guidewire may fail on a large-bore drainage tube due to different torque or flex requirements.
✅ Best Practice: Create a “marker band spec sheet” for each product line—listing material, dimensions, detection method, and validation data. Share it with procurement, engineering, and QA.
4. Validate Placement—Because Location Is Everything
A perfectly chosen marker band is useless if it’s in the wrong spot. In one case, a stent manufacturer saw a 12% increase in rework because marker bands shifted 0.3 mm during crimping—just enough to confuse the imaging software.
To prevent this:
- Use mechanical stops or laser alignment during assembly.
- Perform post-process verification (e.g., automated vision check).
- Document acceptable tolerance ranges (e.g., “±0.1 mm from distal tip”).
🔧 Tool Suggestion: Integrate marker placement checks into your existing quality control workflow—don’t treat it as a separate step.
5. Think Beyond Identification—Enable Data & Traceability
Modern marker bands aren’t just passive identifiers. Smart markers with embedded RFID or NFC chips can turn a simple ring into a data hub.
Imagine:
- Scanning a surgical tool tray to confirm all instruments are present and sterilized.
- Tracking an automotive part through paint, welding, and final assembly—even at 210°C.
- Logging implant details directly into a patient’s EHR via a scan at time of use.
📈 ROI Insight: Companies using traceable marker systems report up to 30% faster root-cause analysis during recalls and 22% reduction in misplaced assets (per 2025 Industry Traceability Report).
Final Thought: Efficiency Starts Small
You don’t need a complete system overhaul to gain efficiency. Often, optimizing a single 1-mm component—like a marker band—can ripple through your entire operation, reducing errors, speeding up processes, and building trust with regulators and customers alike.
So before your next design review, ask:
“Are we just using a marker band—or are we using it effectively?”